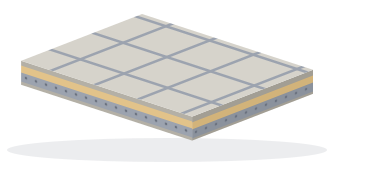
Most patios that sink, rock or crack were built on a weekend that went wrong in one of three places: the dig was too shallow, the sub-base was never compacted, or the slabs were laid on five blobs of mortar instead of a full bed. This guide walks through the whole job in the order you'll do it, with the levels, mixes and weather limits that matter. The patio planner works out and prices every material for your size.
- 165mmdig below finished level (more on clay)
- 1:60fall away from the house, ~15mm per metre
- 150mmminimum below the damp-proof course
- 3°C+and no frost forecast to lay mortar
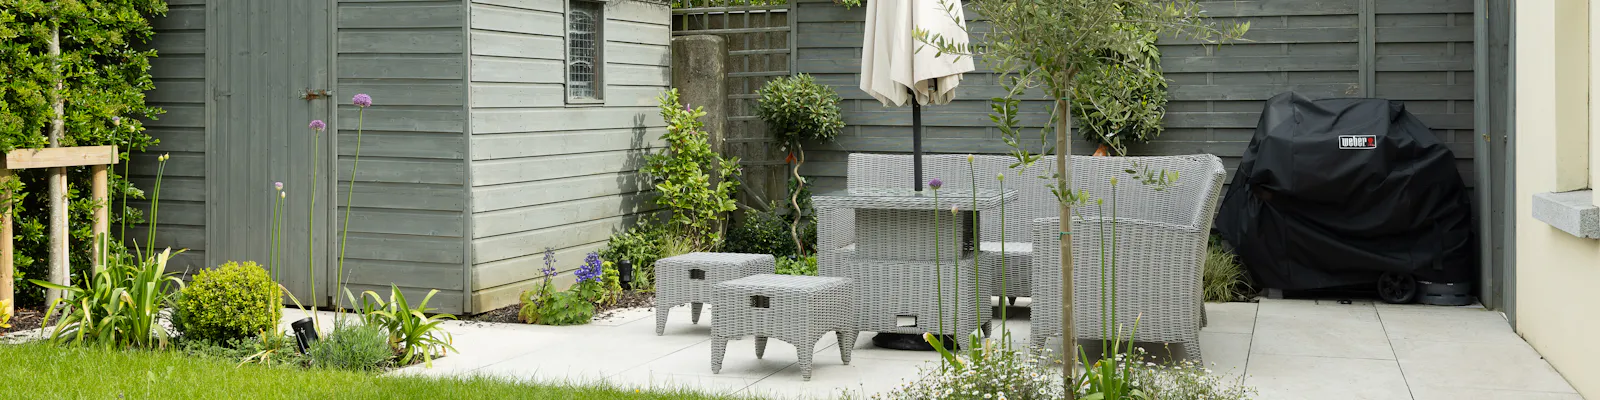
Planning the whole job? Our New patio planner takes your measurements once and opens the excavation, skip, MOT Type 1 and patio calculators with them filled in.
1. Before you start: rules, size and slabs
- Back gardenNo planning permission in England, unless raised more than 300mm.
- Front gardenOver 5m² needs permission, unless rain runs onto a lawn, border or soakaway.
- Find the servicesDrains, pipes and cables first. Never pave over a manhole: fit a recessed tray.
- Size to whole slabsDry-lay a row on the lawn and adjust the size. Fewer cuts, neater edges.
| Porcelain | Sandstone / natural stone | Concrete / utility | |
|---|---|---|---|
| Typical thickness | 20mm, all the same | 22–35mm, varies slab to slab | 32–38mm |
| Looks after laying | Uniform, doesn't fade or stain easily | Weathers and mellows; needs an occasional clean | Plain; fine for paths and shed bases |
| Laying | Prime every slab; cutting needs a porcelain blade | Forgiving; tap each slab down to suit its thickness | Easiest, but heavy |
| Joint width | 3–5mm | 10–15mm | 10mm |
| Slip resistance | Choose an R11 outdoor grade | Good when riven | Good |
Buy all the slabs from one batch, and open several packs at once when laying natural stone, mixing slabs from each pack so colour changes are spread across the patio rather than in stripes.
2. Set out the levels and fall
Everything you dig is measured down from the finished surface, so set that first, with pegs and a string line.
- Find the damp-proof course (DPC) on the house wall: a line of slate, plastic or engineering bricks about two or three courses above the ground, often just below the air bricks. The top of the patio must be at least 150mm below it, so rain can't splash above it into the wall. Never cover air bricks.
- Peg the corners and run string lines around the outside, about 50mm wider than the patio on each side, so the edge slabs sit on solid sub-base.
- Set the fall. The patio should drop about 1:60 to 1:80 away from the house, roughly 15mm per metre. Set the pegs by the house at finished level, then the pegs at the far edge lower by the fall.
- Check the square with the 3-4-5 rule: mark 3m along one side and 4m along the other; when the diagonal between the marks is exactly 5m, the corner is square.
| Patio depth (away from house) | Fall at 1:60 | Fall at 1:80 |
|---|---|---|
| 2m | 33mm | 25mm |
| 3m | 50mm | 38mm |
| 4m | 67mm | 50mm |
| 5m | 83mm | 63mm |
The water has to go somewhere. Fall the patio towards a lawn or border, or a channel drain along the outer edge; never towards the house or a neighbour's garden.
3. Dig out
- Strip the turf first. Good turf can be lifted and re-laid at the edges, or stacked upside down to rot into topsoil.
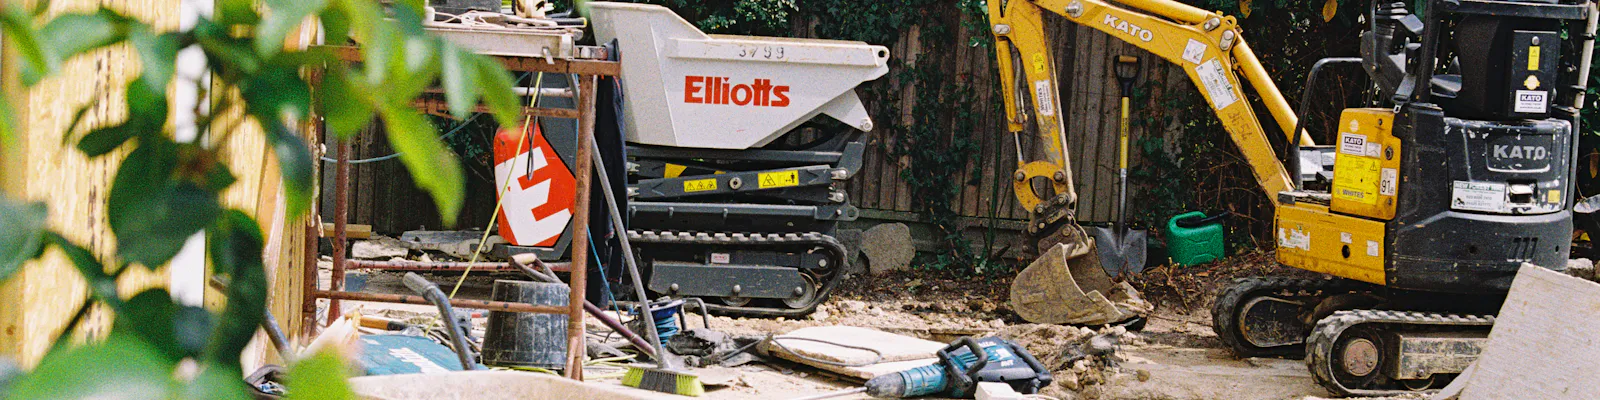
- Dig to about 165mm below your string lines for a typical patio, following the fall. Dig out all the dark topsoil and roots, even if that takes you deeper, and make up the extra with sub-base, never soil.
- Test the ground. Press your heel into the bottom of the dig. If it leaves a deep print or it's sticky clay, add 50mm to the sub-base and lay a woven geotextile membrane first. The sub-base depth guide covers soft ground in detail.
- Plan for the spoil. A 12m² patio dug 165mm deep takes out about 2m³ of ground, which bulks up to roughly 2.6m³ once dug: close to 4 tonnes. That's more than most mini and midi skips will take by weight, so check the skip size calculator before booking, or use the excavation calculator for your exact size.
4. Lay and compact the sub-base
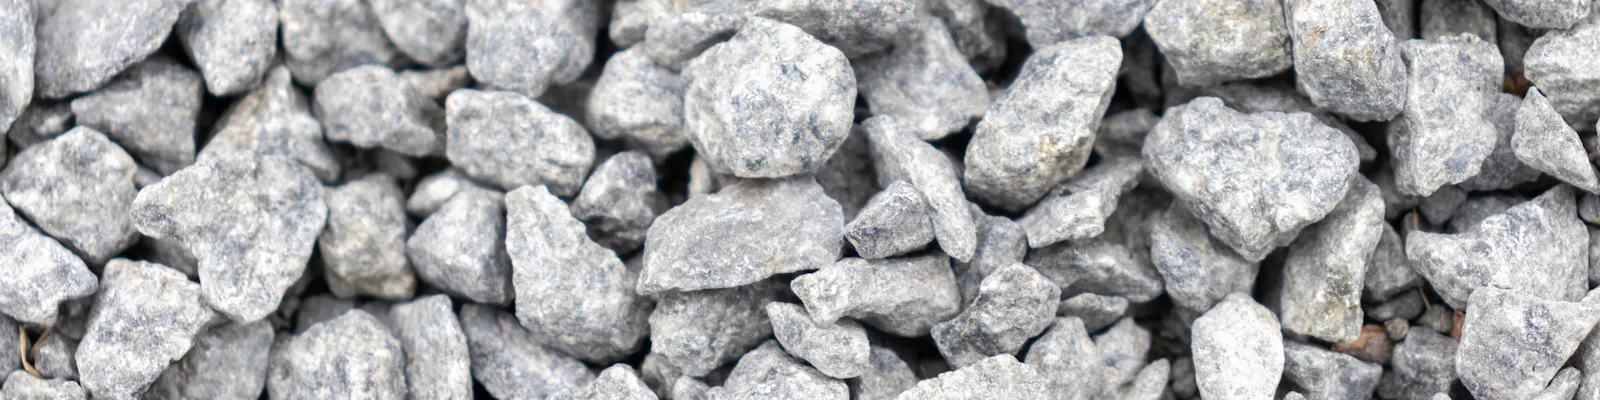
- Spread MOT Type 1 in two layers of about 60–75mm loose each. A plate compactor only compacts the top 75mm or so properly.
- Dampen it if it's dry and dusty, then run the plate over each layer 4–6 times in different directions, until it stops leaving marks.
- Check the surface against the strings: it should follow the fall, about 60mm below finished level (bed plus slab). Fill low spots and compact again.
- The finished sub-base should be hard enough to walk on without leaving footprints. If you hired the plate for the weekend, this is the part to get right.
5. Plan and price your patio
Enter your patio and the planner works out the slabs, sub-base, bedding mix, jointing and soil to remove, then prices the bulk bags and cement at the cheapest UK merchant we've found. It uses the same maths as the patio calculator.
The planner needs JavaScript. You can still use the patio calculator.
Assumes 10% extra slabs for cuts (10mm joints, 5mm for porcelain), 100mm of MOT Type 1 (150mm on clay) plus 5%, a 40mm bed of 6:1 sharp sand and cement plus 10%, 850kg bulk bags and 12.5kg jointing tubs. Soil to remove allows 30% for bulking up once dug. Jointing and priming slurry are not priced.
6. Mix the bed and lay the slabs
Lay slabs on a full mortar bed: a continuous layer of sharp sand and cement under the whole slab. Spot bedding (a blob in each corner and one in the middle) leaves hollows that collect water, crack in frost and let slabs rock.
- The mix4:1 to 6:1 sharp sand to cement. Damp enough to hold a squeeze, not sloppy.
- One hourOnly mix what you can lay in about an hour.
- Below 3°C or frost dueDon't lay mortar, or for 48 hours before a frost.
- Heavy rainWashes cement out of the bed and stains the slabs.
- Hot sunDamp the sub-base first so it doesn't suck the water out of the bed.
- Start at a fixed edge, usually the corner against the house, and work outwards so you never kneel on fresh slabs.
- Spread the bed for one or two slabs at a time, about 40mm thick and a little bigger than the slab, then rough the surface with the trowel so the slab can bed down.
- Prime the slab. For porcelain, brush priming slurry over the whole back just before laying; without it the mortar won't bond. For natural stone it's recommended, and it helps stop the bed showing through as dark patches.
- Lower the slab on, don't drop or slide it, and tap it down with the rubber mallet, working round the slab, until it's at the string line and the fall is right.
- Check every slab with the level, across to its neighbours and along the fall. Use spacers so the joints stay even.
- Clean as you go. Wipe any mortar off the face straight away with a damp sponge. Dried cement stains are very hard to remove, especially from porcelain and light sandstone.
Cutting: mark cuts with a pencil, cut outdoors with a diamond blade, and use water suppression or a dust extractor. Cutting stone and concrete releases silica dust, so wear a proper FFP3 mask and eye protection.
7. Joint the patio
Leave the bed to set for about 24 hours before jointing. Pick the method that suits your slabs:
| Method | Best for | How it goes in | Watch out for |
|---|---|---|---|
| Brush-in jointing compound | Most DIY patios, porcelain and stone | Wet the patio, brush the compound into the joints, then brush off the surplus | Each brand has its own temperature and rain limits: read the tub |
| Sand and cement pointing (3:1) | Wide joints in natural stone, budgets | Pressed in with a pointing iron, then struck smooth | Very easy to stain the slabs; slow |
| Slurry grout | Large patios, experienced layers | Wet grout swept across and into the joints, then cleaned off | Must be cleaned off before it sets; not on porous stone without advice |
Keep people off the patio for 24 hours after jointing, and keep heavy furniture and pots off for about a week.
8. A weekend plan for a 12m² patio
A 4m × 3m patio is a realistic job for two people over two long weekends, or one long weekend if the dig is done in advance.
- A week beforeOrder slabs, bulk bags and cement. Book the skip and plate compactor.
- Day 1Strings and fall, strip the turf, dig out, fill the skip.
- Day 2Membrane if needed, then MOT Type 1 in two compacted layers.
- Days 3–4Mix and lay the slabs on a full bed, cleaning as you go.
- Day 524 hours later: joint, tidy the edges, re-lay the turf.
9. Common patio mistakes
- Slabs on soil or sandThey settle within a season or two.
- Spot beddingThe top cause of rocking, cracked slabs.
- Unprimed porcelainSlabs pop loose, sometimes within weeks.
- No fallPuddles stain the paving and push water at the wall.
- Bridging the DPCToo high against the wall lets damp into the house.
- Mortar on the faceOnce dry, it rarely comes off cleanly.
And don't joint in cold or rain: it can ruin a whole tub of compound in the joints.
10. Patio checklist
Print this page (the planner is left out of the printout) and tick these off as you go:
- Planning rules checked (front garden over 5m²? raised over 300mm?)
- Drains, pipes, cables and manholes found
- Patio sized to whole slabs with a dry-laid row
- Finished level at least 150mm below the DPC, air bricks clear
- Fall of 1:60–1:80 away from the house, set with strings
- Topsoil fully dug out; membrane laid on soft ground
- MOT Type 1 laid in two layers, each compacted with a plate
- Weather checked: above 3°C, no frost or heavy rain due
- Every slab on a full bed, porcelain primed, mortar cleaned off the face
- Jointed after 24 hours, kept off for another 24
Planning more of the garden? Try the fence calculator, the turf calculator for the lawn edges, or our guide to building a brick garden wall around the patio.