A freshly skimmed wall is one of the most satisfying finishes in DIY, and one of the easiest to get wrong. The plaster sets on its own timetable, not yours: the art is having the wall prepared, the mix right and the next step ready before it's needed. This guide covers which plaster goes on which wall, the prep, the two-coat skim step by step, and drying. The room planner prices the bags for your room.
- 10m²per 25kg bag of Multi-Finish at 2mm
- 2 coatsof skim, about 2mm in total
- ~90 minfrom mixing to final polish (varies)
- Pale pinkmeans dry: then a mist coat
1. Which plaster goes on which wall?
- Multi-FinishThe all-round skim: boards, old plaster and undercoats.
- Board FinishMade for plasterboard and low-suction surfaces.
- HardwallUndercoat for high-suction brick and block, ~11mm.
- BondingUndercoat for low-suction concrete and painted walls, ~8mm.
2. Prepare the room and the wall
- ProtectDust sheets down, sockets and switches taped over, everything moved out.
- Make goodScrape off loose paint and plaster, fill deep holes with undercoat first.
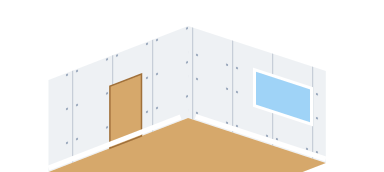
- Scrim and beadScrim tape over every board joint, angle bead on external corners.
- Old plaster: PVADiluted about 1:4; skim while it's still tacky, not dry.
- Plan the sessionOne wall per mix. Start with the ceiling, then walls.
- No heat or draughtsRadiators off, no fans or direct sun while it sets.
3. Plan and price your room
Enter your room and the wall surface. The planner works out the area after doors and windows, the bags of each plaster, and scrim tape for boards, then prices the plaster at the cheapest UK merchant we've found. It uses the same coverage as the plaster calculator.
The planner needs JavaScript. You can still use the plaster calculator.
Assumes 10% extra, Multi-Finish at 1.25kg per m² per mm and 2mm thick (about 10m² a bag), hardwall at 0.76kg and 11mm, bonding at 0.83kg and 8mm, all in 25kg bags. The ceiling is skimmed only (it's usually plasterboard). Scrim tape allows 1.3m per m² of board. PVA, beads and tape aren't priced.
4. Mixing
- Clean bucket, clean waterOld plaster in the bucket makes the new mix set faster.
- Plaster into waterNever water into plaster. About 11.5L for a bag of Multi-Finish.
- Paddle to yoghurtSmooth, lump-free and thick enough to hold on the trowel.
- No re-temperingAdding water to setting plaster ruins it. Mix a fresh batch.
5. The two-coat skim, step by step
- First coat. Load the hawk, lay plaster on from the bottom corner up and across, about 1–2mm thick, pressing it hard into the wall. Cover the whole wall quickly.
- Flatten it. Go over the first coat with a lightly angled trowel to knock down ridges. Don't chase perfection yet.
- Second coat. As soon as the first coat is firm enough not to drag (often 10–20 minutes), lay on a thinner second coat, filling hollows and trowel marks.
- Trowel up. As the plaster firms, trowel the whole wall again with firmer pressure and a flatter blade, three or four times, 10–15 minutes apart. Each pass closes the surface more.
- Polish. On the last pass, flick a little clean water on with a brush if needed and trowel until it shines. Stop when your trowel starts to drag or burn.
- Clean the tools straight away. Dried plaster on a trowel scratches the next wall.
6. Drying and decorating
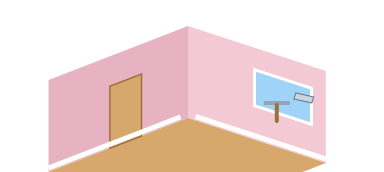
- Dark to pale pinkDry when evenly pale with no dark patches: days for a skim.
- VentilateOpen windows; gentle heat is fine once it's set, not before.
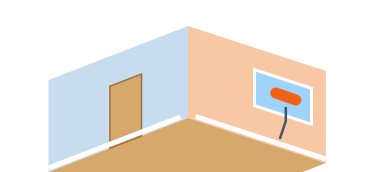
- Mist coat firstWatered-down emulsion soaks in and seals it, then paint as normal.
7. Mistakes to avoid
- Mixing too muchIt sets before you finish. One wall per mix.
- Over-trowelling earlyWorking it while soft drags ridges. Wait for it to firm.
- Skipping scrimBoard joints crack through the skim.
- Skimming onto dry PVASkim while it's tacky, or the bond fails.
- Painting too soonPaint traps moisture and peels. Wait for pale pink.
- Heat while settingFast drying causes cracks and a weak, powdery surface.
8. Plastering checklist
Print this page (the planner is left out of the printout) and tick these off as you go:
- Wall surface identified; plaster and undercoat chosen
- Plaster, PVA, scrim tape, beads and buckets bought
- Room cleared, floor sheeted, sockets and switches taped over
- Loose material scraped off, deep holes filled with undercoat
- Scrim on board joints, angle bead on corners
- Old plaster PVA'd and still tacky (if needed)
- Clean bucket, clean water, one wall per mix
- First coat, second coat, trowelled up and polished
- Tools cleaned straight away
- Left to dry to pale pink, then a mist coat
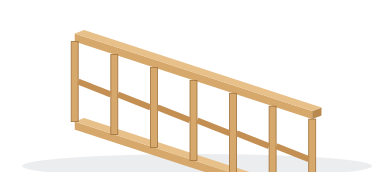
Painting next? The paint calculator works out the tins, including the mist coat. Building a new wall first? See the stud wall guide.